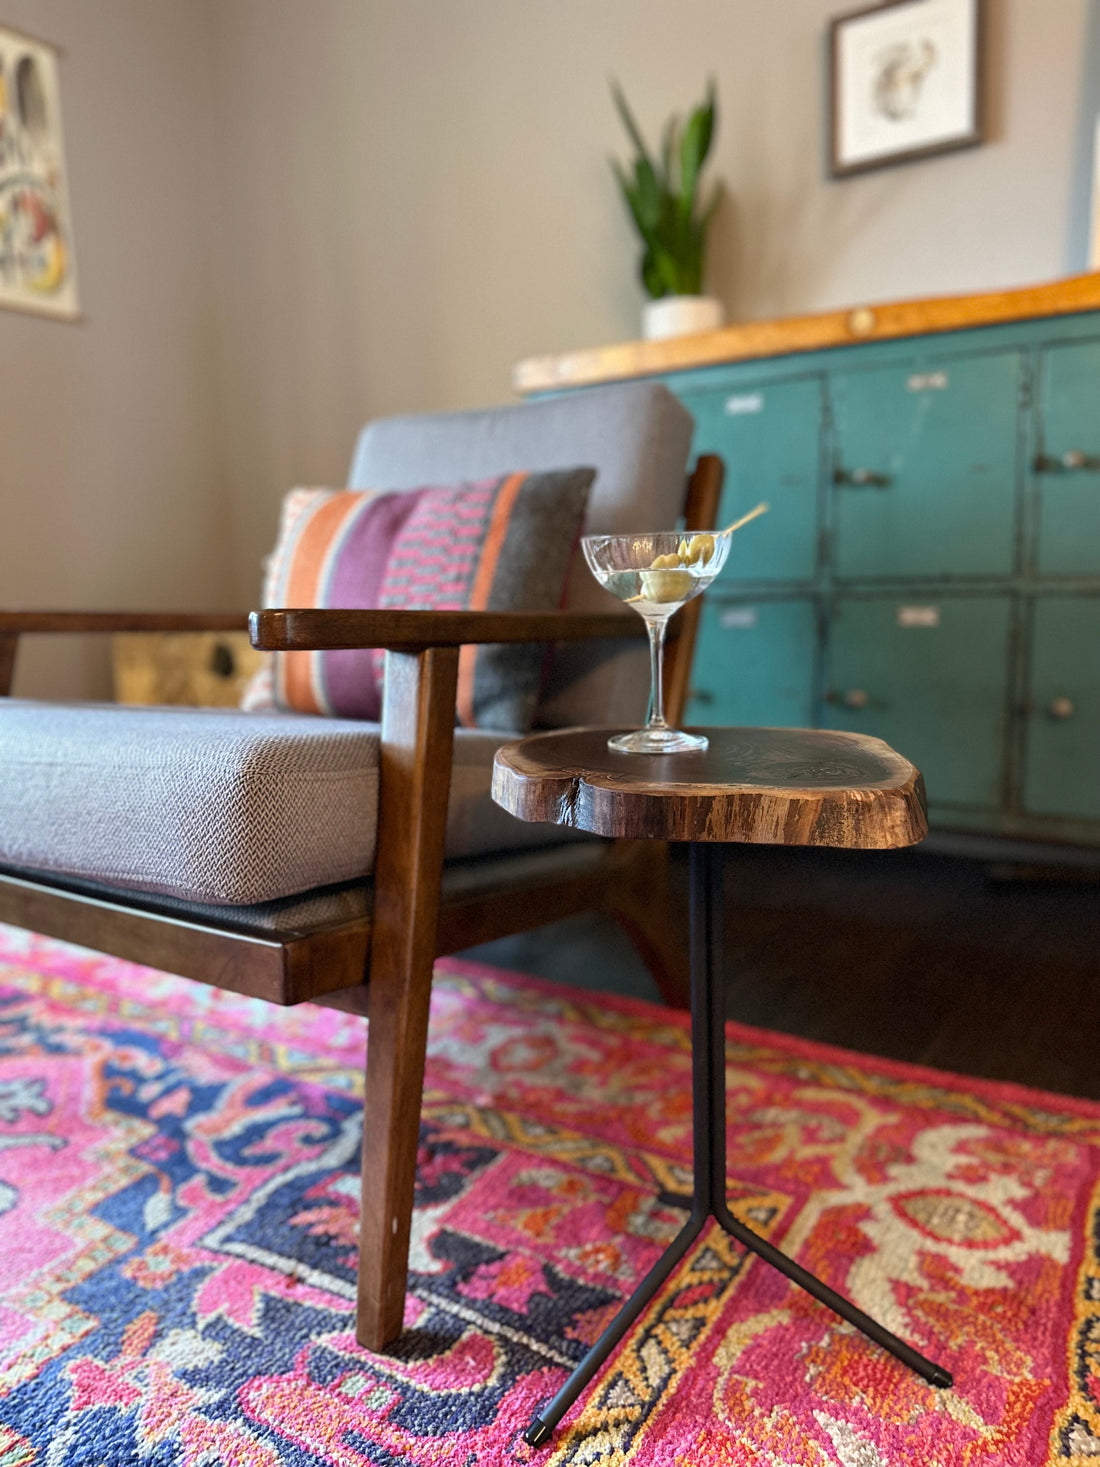
Learning how to build a live edge side table is a great way to get started in the world of woodworking. Follow the simple steps below to create a stylish, functional and one-of-a kind piece of furniture. This DIY side table project is perfect for beginners.
Tools:
- Drill
- Sander (optional)
Materials:
- 12"-14" Round Live Edge Slab (Aka Cookies) - We purchased ours from Urbn Timber, located in Columbus, Ohio. They have a large selection of wood cookie tops and live edge slabs.
- Tripod Table Base from hairpinlegs.com
- Paint
- Wood Finish - We used Osmo wood finish
- Screws - #8 panhead screws

Step One: Prep and Finish Top
The wood cookie slab we purchased was already sanded but we chose to do a little additional sanding to ensure the smoothest finish. We used an electric sander but you can also sand by hand. After sanding, the top is ready for finish. We applied several coats of the finish.

Step Two: Prep and Finish Tripod Base
We offer two finishes of our tripod table base, raw steel and stainless steel. Stainless steel will not rust and requires no finishing. Raw steel does need to be painted to prevent rusting. See our guide to painting raw steel here.
For this project, we chose our raw steel base and painted them black.

Step Three: Attach Tripod Base to Top
Your DIY side table is almost done! Our easy to attach tripod base has a round 4” mounting plate with ¼” mounting holes. We recommend #8 panhead screws and choose the longest length your top will allow. Position the mounting plate as close to the center as the top as you can and secure your screws with a drill.

Step Four: Enjoy Your Creation
Place your new live edge side table next to your sofa or chair, pour your favorite beverage and plan your next build!

Check out our website to see our selection of metal table legs: we're sure your will find something for your next DIY project.
Other uses
Our tripod base comes in two sizes, 21" & 17", making a set perfect for nesting tables. Or, for our plant lovers, they make a great little plant stand.


